I decided to watch some tutorials on Skillshare and take some classes to learn to make the most out of Procreate, as it is a media that I use a lot and I am sure there are so many tips and tricks for using it more efficiently. One thing I have seen is using an Alpha lock, this means that the layer is locked on the shape you have created, so no strokes can be added outside of that area, this was really useful when I wanted to add a darker shade to the edges of the leaves and blend it out, without loosing that sharp edge I had drawn. This was really helpful and just meant that I did not have to go through a long process of working on a really small scale or rubbing out the edges around the motifs.
So I also followed a tutorial for creating burhses, as the watercolour brushes selection on there is not as good as it could have been, so I followed a tutorial to make my own, and learn how to make them so I could try and experiment with my own creations too.

So firstly you need to bring up the brush panel and click the plus sign in the right hand corner of this.

The first step is to choose a shape and grain for your brush, and this will make all the difference to the final result. For the Shape for watercolour I went with a circular kind of design, and looked through the grain for one that looked watery and stained to me, because the watercolour brush they supply on here, just does not look like watercolour.

By clicking ‘Swap from Pro Library’ it takes you to all this preset brush grains and shapes to choose from.

Next, you go through each of the bottom panel sections, choosing variables on the stroke, shape, grain, dynamics, pencil and general, which just edits how the stroke looks and how it behaves with different pressures and movements. The strip at the top shows how it will look. The important thing to see is on the dymanics here, giving it a glazed or wet look completely changes the outlook of it and shows up a lot more texture which I think was a great trick to know how to do.


Editing the pencil pressure here you can see what editing the size does to it, it gives it this nice tapered edge so it can end in a more realistic way.

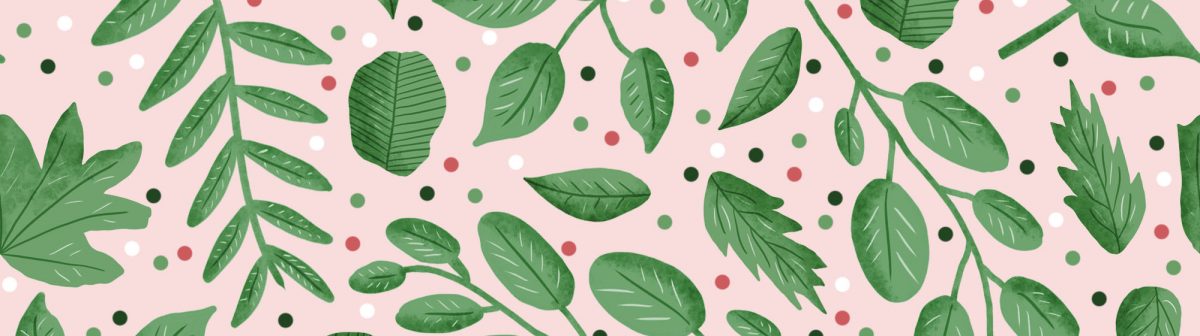
So this is what I ended up with, it is not perfect and it can be a case of playing around with the sliders to achieve what you want to, but I think I am heading in the right direction here for the kind of watercoloury effect that I want.
